

The process of finishing off a Paracord collar, bracelet or halter can often bring frustration. Certainly if you've not been knotting for long, this can be one of the least fun things about it. Below are 5 handy tips that will make finishing off easier.
Tip 1: Leave enough 'wriggle' room at the end
When you've nearly finished knotting, there's a big temptation to squeeze in more knots on that last bit. But this just makes finishing off more difficult for yourself.
Try to leave about 0.5-1 cm, so that you have enough room for finishing off.
Tip 2: Use tools
There are a few tools that can be a great help with finishing off. I'll discuss four here: a Paracord needle, a crochet hook, a needle called a 'Marlin Spike', and a gas burner.
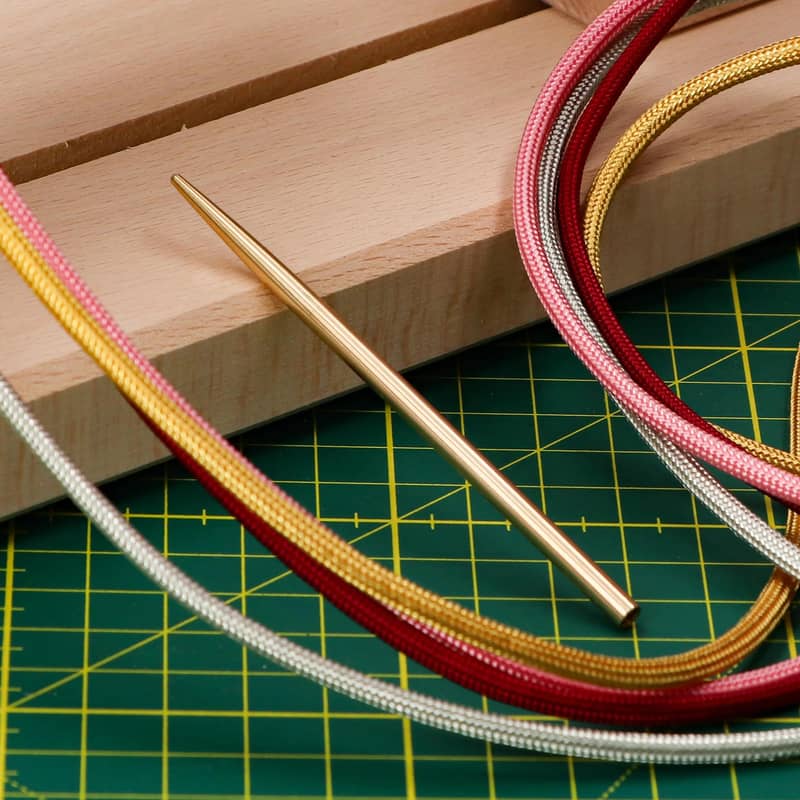
Paracord needle
You probably don't have a Paracord needle lying about at home, but if you're going to work with Paracord more often, then buying one is certainly a good idea. You simply twist the Paracord firmly into the needle shaft, so you can then effortlessly insert the cord.
Crochet hook
Don't have a Paracord needle? Then a small crochet hook can do the trick. Many people have such a hook at home, so, who knows, perhaps you can find one somewhere in a cupboard.
Marlin Spike
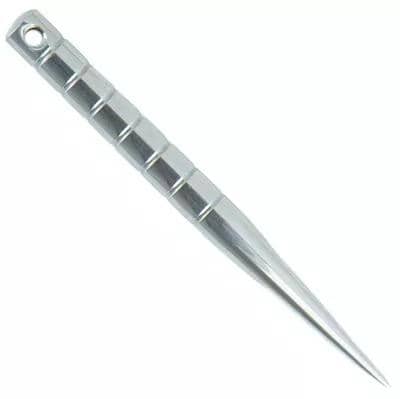
In order to be able to insert the cord, you need room under the part that has been knotted. You can make room by pushing the Marlin Spike Needle (a.k.a. a Fid) through the hole, which makes it bigger. This way you create a big temporary opening, which then gets smaller by itself.
Gas burner
It's handy to have a gas burner (or blowtorch) to effectively seal off the cord ends. An ordinary lighter can also be used, but you can melt ends much more accurately with a blowtorch.
Tip 3: Follow the pattern
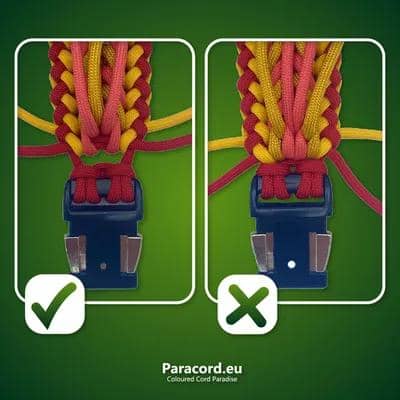
The finishing off of a collar is often the less beautiful part, unless you can keep following the pattern nicely.
While knotting, you've probably noticed that every cord follows its own path. Colour blue perhaps always goes from left to right, while colour yellow in an arrow shape points down. That's the pattern you want to keep following at the end as well.
Besides following the pattern, you can also try to copy the starting knot. Does the blue cord lie in the middle of the starting knots? Then copy that with the finishing off (see tutorial 07:25).
Tip 4: Each to their own way
Don't be fooled into thinking that there's only one way to finish off. Everyone has their own way of inserting, and this can also vary for each knot.
The only thing I always recommend is that you insert the cords in the start knots. You can clearly see what I mean in the tutorial (00:42).
There is also no 'law' about the number of times that you must insert the cords. In my experience, inserting 1 or 2 times is enough.
Tip 5: Practice, practice, practice
Probably the most annoying tip: practice! 'Practice makes perfect' really applies here.
It could be that the finishing off on your first collar will be a bit bulky. But the more you knot (and so finish off), the more insight you gain into following a pattern, the thickness of certain ways of knotting, and the best place to insert the cords.
So don't give up, and if it doesn't look so neat and tidy now, you'll get there in the end!
Conclusion
All tips in a row:
- Leave enough 'wriggle' room;
- Use tools;
- Follow the pattern;
- Each to their own way;
- Practice makes perfect.
How do you achieve a beautiful finishing off? Share your experiences with #paracordeublog
Related Articles
Knot the Cookies Pie | Tutorial
In this photo tutorial, you will see how to knot the Cookie’s Pie pattern. The Cookies Pie was designed by Silke Engels and is hard to make.
Which Paracord Colours Actually Glow Under Blacklight?
Not every neon paracord colour reacts to a blacklight or is glow in the dark, despite what most people assume. Neon just means the colour is bright. Whether it actually glows in the dark or under UV light comes down to the dye used, and only a handful of our colours are made with that specific fluorescent or phosphorescent dye.
What kind of rope do I need for my horse?
Would you like to make your own horse accessories out of rope, such as a unique horse halter, but aren’t sure what you need? In this blog, we’ll give you advice on what kind of rope to use for different parts of your horse gear.
Make the Niki's Butterfly knot | Tutorial
In this photo tutorial, you will see how to knot the Niki's Butterfly pattern. The Daylight knot was designed by Nicole Damer and is easy to make.
2 x Bag charm inspiration
We couldn’t resist the cute bag charm trend. Make your own leather bag charm with our kangaroo or nappa leather. Follow our tutorials and create your custom key ring bag charm!
Make the Daylight knot | Tutorial
In this photo tutorial, you will see how to knot the Daylight pattern. The Daylight knot was designed by Silke Engels and is of an intermediate level.