

Table of Contents


 Team Paracord.eu
In this photo tutorial, you will see how to knot the Helmy’s First pattern. The Helmy’s First knot was designed by Helmy Stolwijk and is easy to make.
Make the Helmy's First knot with multiple colours of paracord 550 type III. From the two cords in the middle, we take out the core to get a nice effect. You can choose to add beads to this pattern, with paracord type I or micro cord and beads of your choice. In the MatchMaker you can see how many meters of paracord you need, and you can also choose the colours for your project. Here you'll find the Helmy's First in the MatchMaker with beads and here you'll find the knot in the MatchMaker without beads.
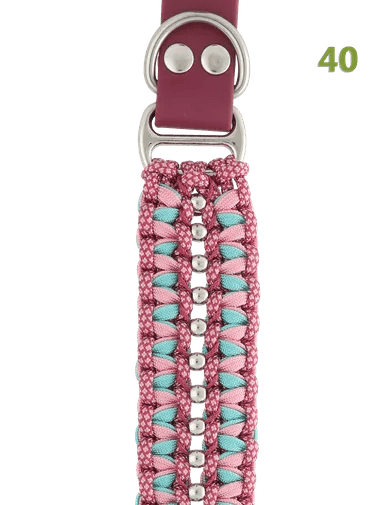
If you follow the photo tutorial and make this knot with paracord 550 type III, the collar with beads will be around 4 cm wide and 0,8 cm thick. Without beads, this collar will be 3,4 cm wide and 0,8 cm thick.
Start paracord knot
In this tutorial, the Kosmetik 2.1 technique is used as the setup. Need help making this? Then check out the tutorial on the Kosmetik setup here.
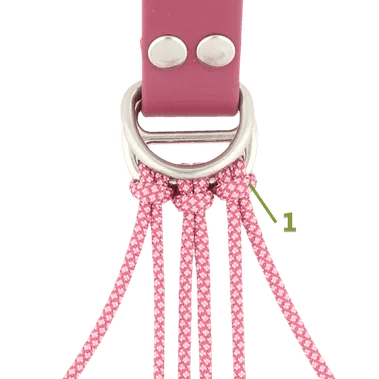
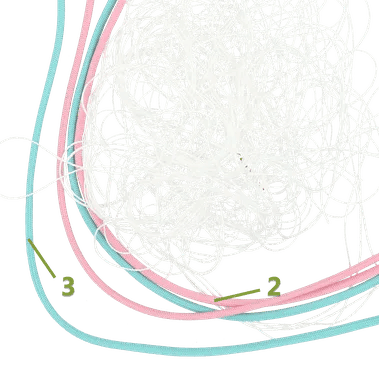
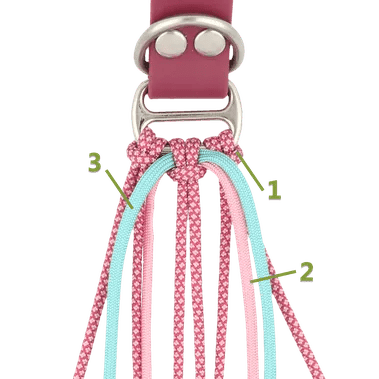
Colour 1: Viva La Vino & Pastel Pink Diamonds Paracord 550 Type III, colour 2: Pastel Pink Paracord 550 Type III and colour 3: Turquoise Paracord 550 Type III
Colour 4 (for the beads): Viva La Vino Micro Cord
Beads: 8 x 5,5 mm Set of 25 Brass Beads Round - Silver (also available in other colours)
After making the setup and adding the colours, it is helpful to check that the length of the setup is still correct. Make sure the left and right strands of each colour ware the same length.
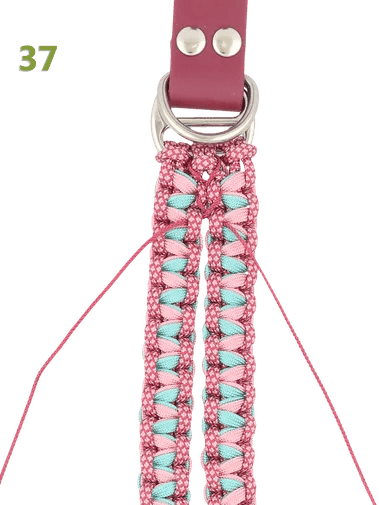
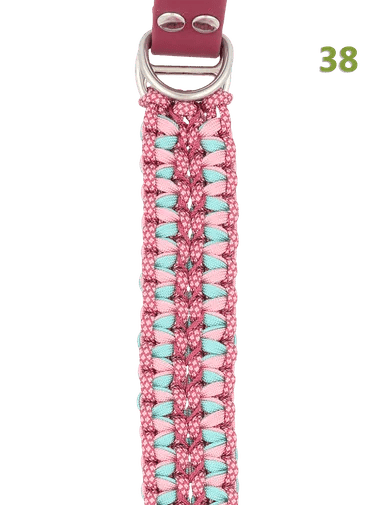
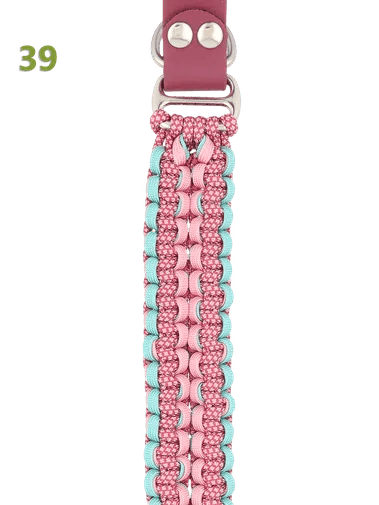
Knotting the Helmy's First
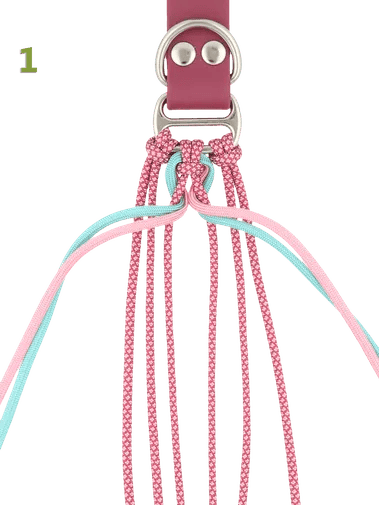
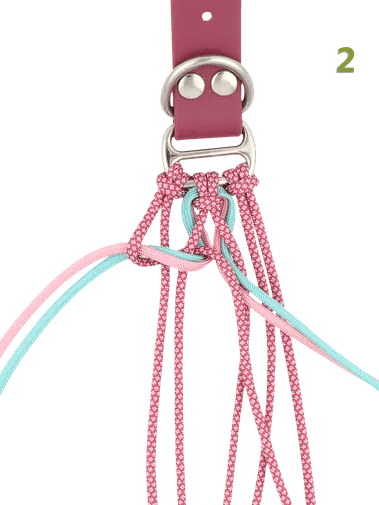
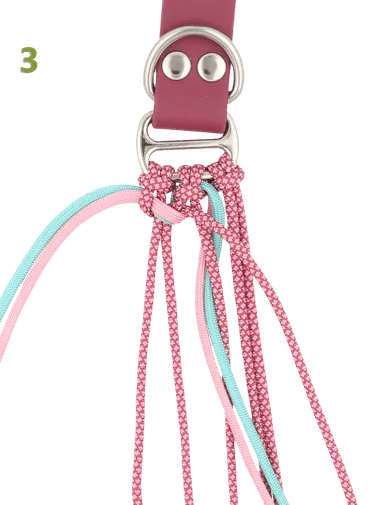
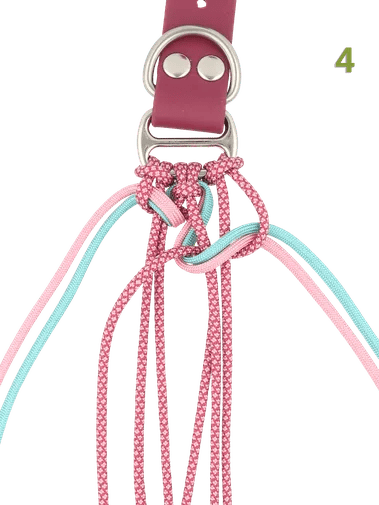
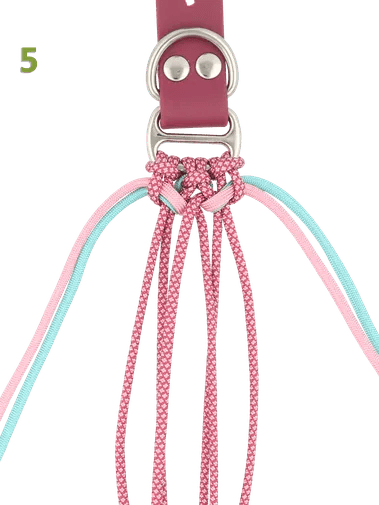
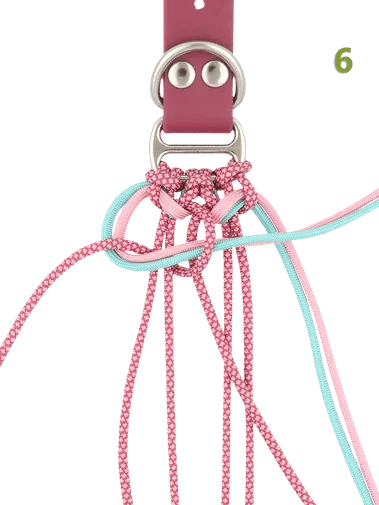
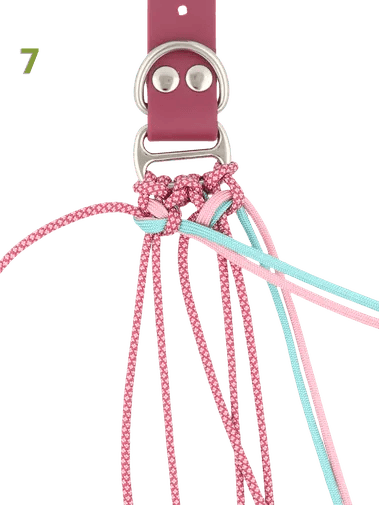
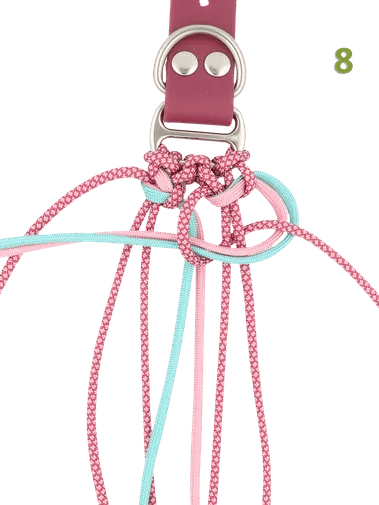
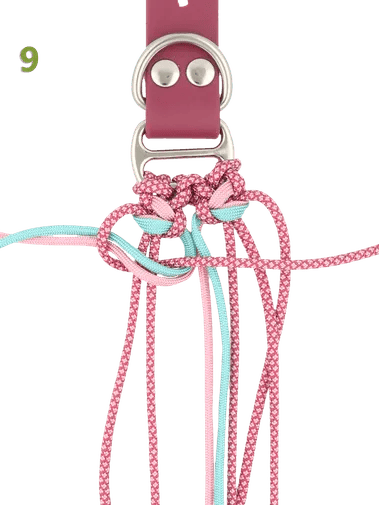
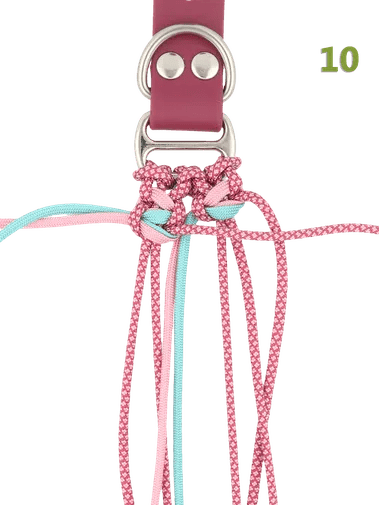
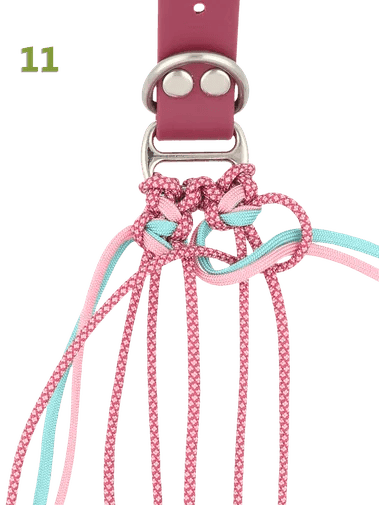
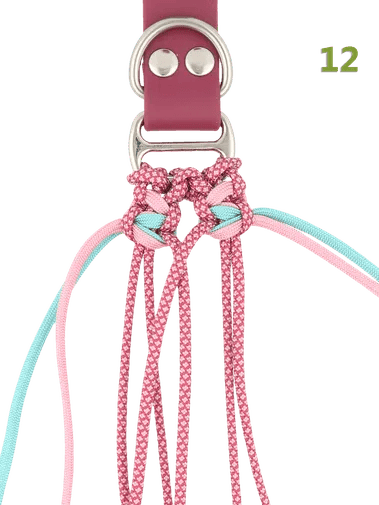
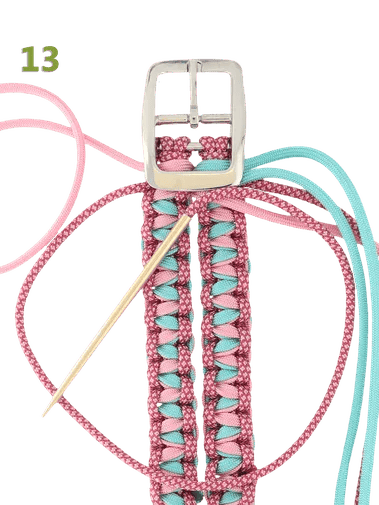
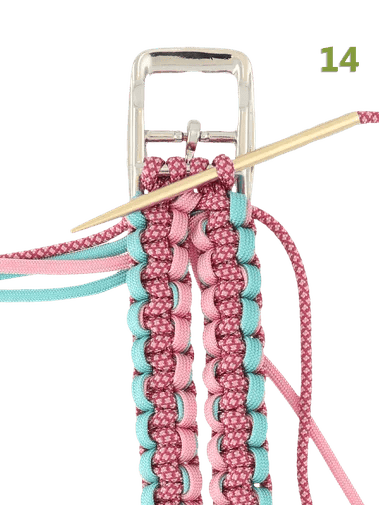
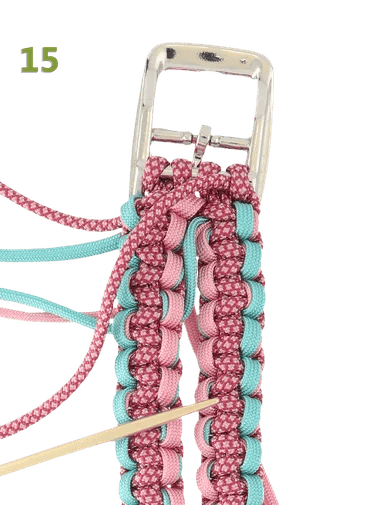
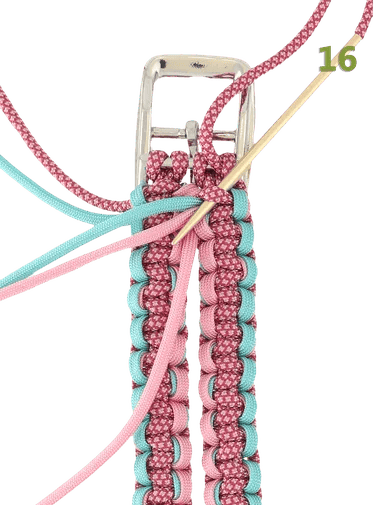
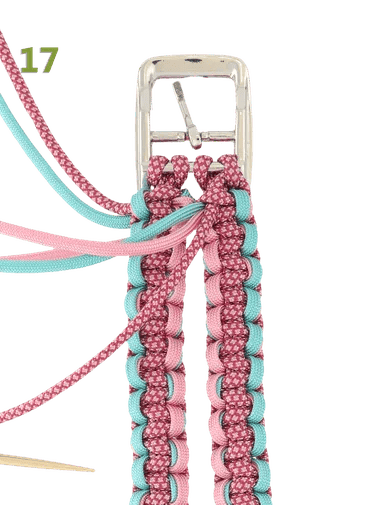
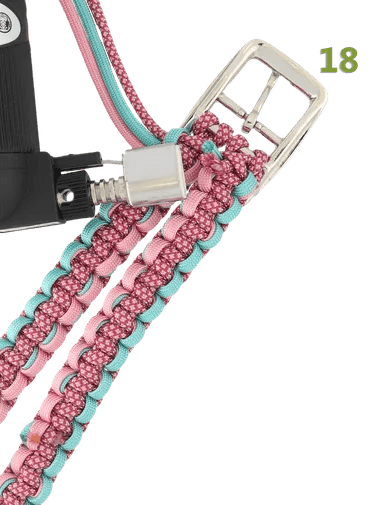
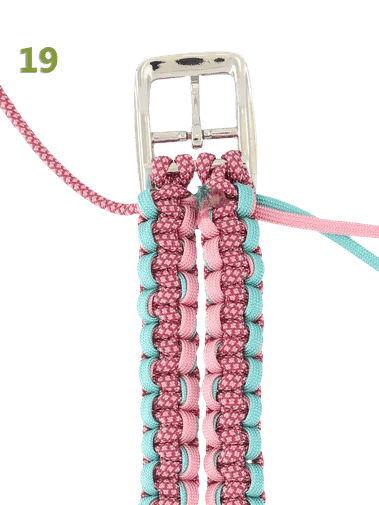
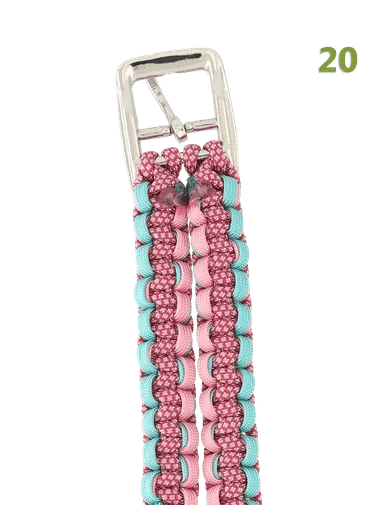
After knotting, join the two parts together with or without beads.
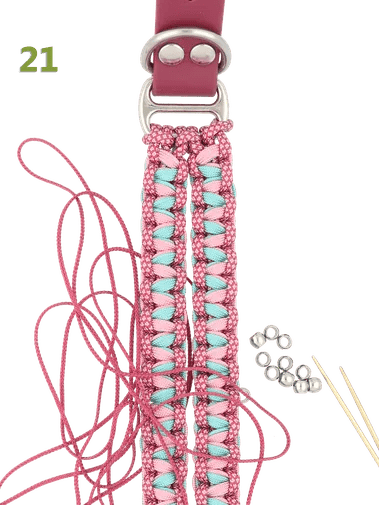
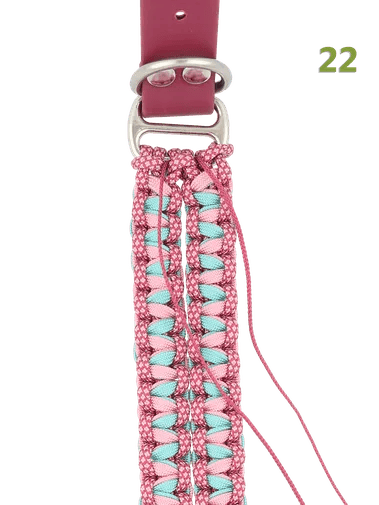
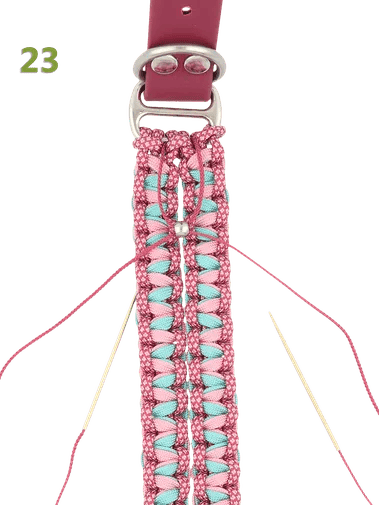
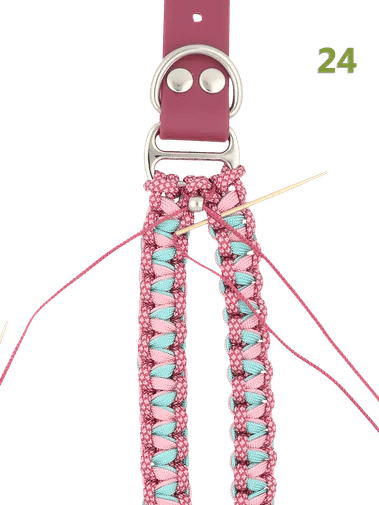
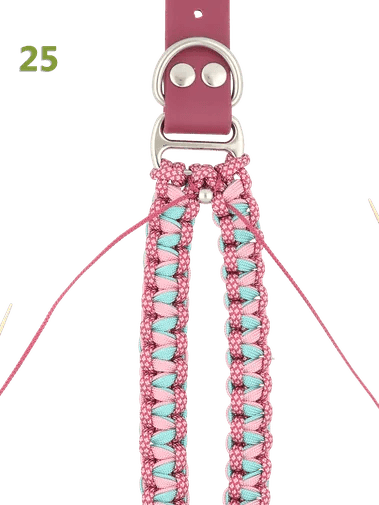
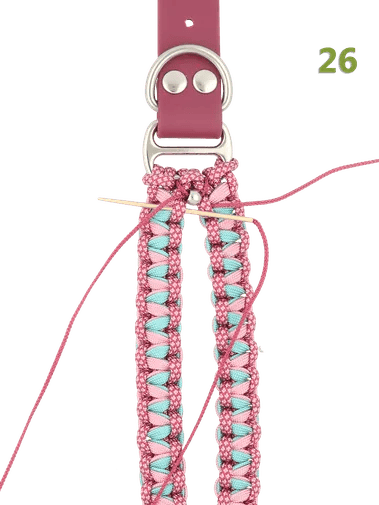
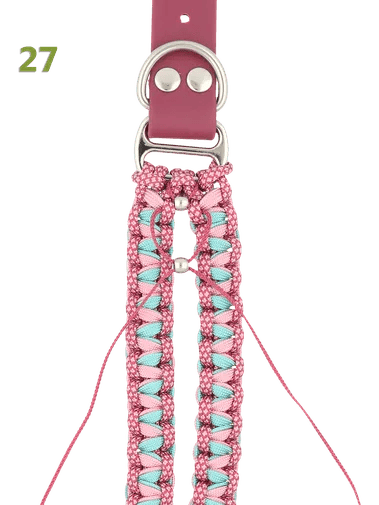
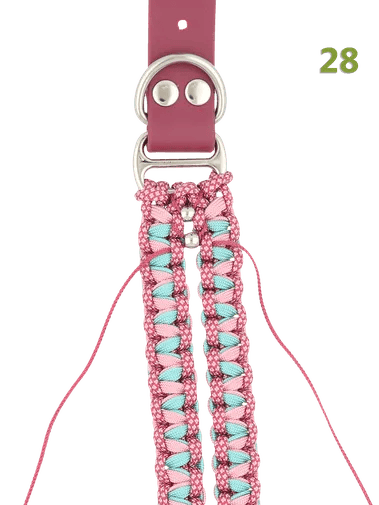
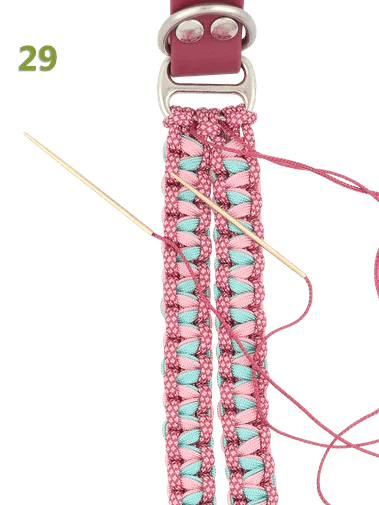
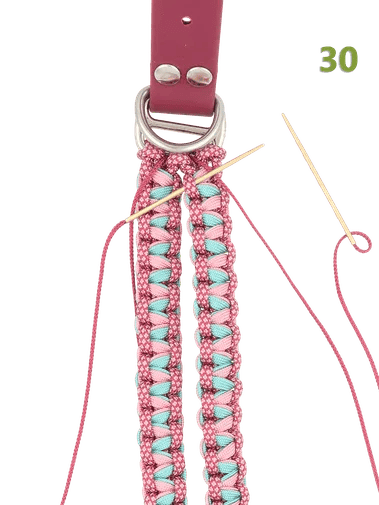
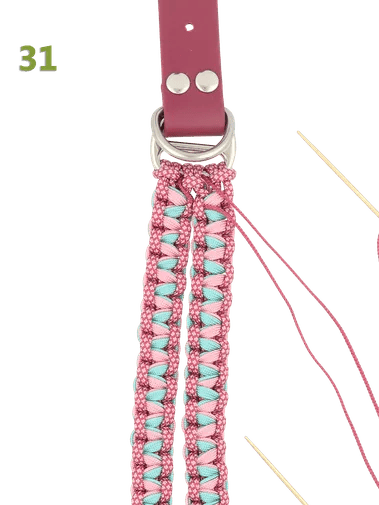
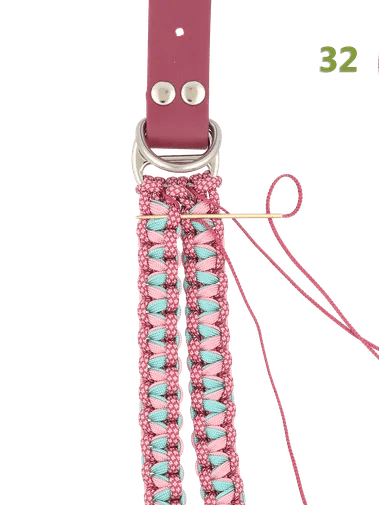
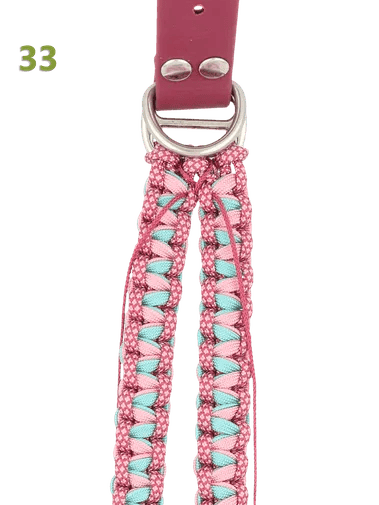
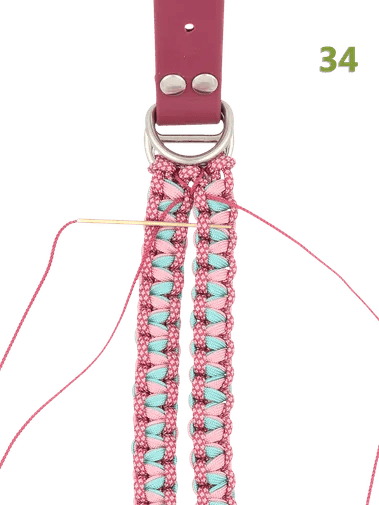
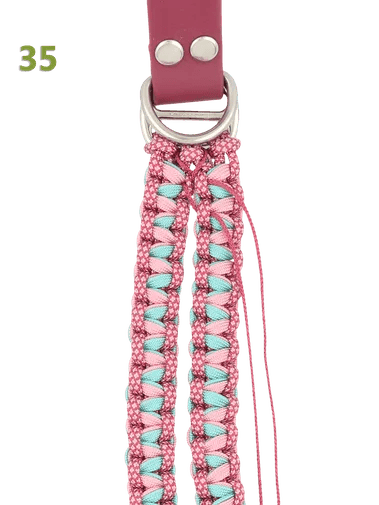
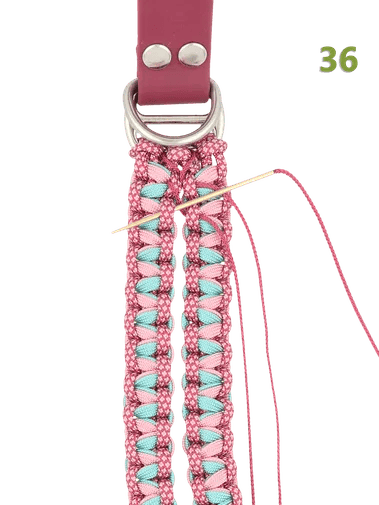
This knot was designed by Helmy Stolwijk. We would like to thank her for her permission to use this knot.
Related Articles
Which Paracord Colours Actually Glow Under Blacklight?
Not every neon paracord colour reacts to a blacklight or is glow in the dark, despite what most people assume. Neon just means the colour is bright. Whether it actually glows in the dark or under UV light comes down to the dye used, and only a handful of our colours are made with that specific fluorescent or phosphorescent dye.
Make your own handsfree dog leash | DIY kit instructions
With our tutorial, you can easily make your own hands-free dog leash. With this 3-meter leash, you can walk your dog in peace while keeping your hands free! Isn’t that ideal? This way, you can take beautiful photos of nature or quickly send a message to a friend. In this blog, you'll find everything you need to follow our tutorial.
Make the Niki's Butterfly knot | Tutorial
In this photo tutorial, you will see how to knot the Niki's Butterfly pattern. The Daylight knot was designed by Nicole Damer and is easy to make.
2 x Bag charm inspiration
We couldn’t resist the cute bag charm trend. Make your own leather bag charm with our kangaroo or nappa leather. Follow our tutorials and create your custom key ring bag charm!
Make the Daylight knot | Tutorial
In this photo tutorial, you will see how to knot the Daylight pattern. The Daylight knot was designed by Silke Engels and is of an intermediate level.
Make the Cambio knot | Tutorial
In this photo tutorial, you will see how to knot the Cambio pattern. The Cambio knot was designed by Annet Eul and is of an intermediate level.